How to Bring Old Furniture Back to Life: A Guide to Wood Refinishing and Repair
Restoring old furniture can be a rewarding project that not only enhances the beauty of your home but also preserves cherished pieces for years to come. This guide will walk you through the essential steps of wood refinishing and repair, ensuring your antique or vintage furniture looks stunning and lasts long.
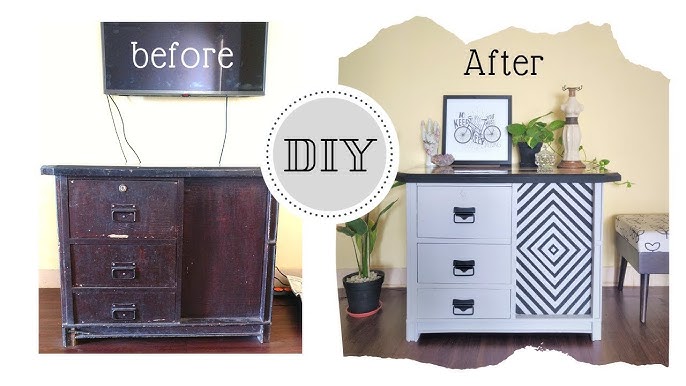
Why Refurbish Old Furniture?
Refurbishing old furniture allows you to breathe new life into pieces that may have seen better days. It can be a sustainable choice, reducing waste while creating unique, personalized items that reflect your style. Moreover, well-restored furniture can significantly increase its value.
Tools and Materials You’ll Need
Before starting your project, gather the necessary tools and materials:
- Sandpaper (various grits)
- Wood filler
- Wood stain or paint
- Clear sealant (polyurethane, varnish, etc.)
- Brushes and rags
- Putty knife
- Safety gear (gloves, mask, goggles)
Step-by-Step Guide to Wood Refinishing
1. Assess the Condition of the Furniture
Start by examining the piece for any damages, scratches, or dents. Look for loose joints or any signs of wear. Understanding the condition will help you decide on the extent of restoration needed.
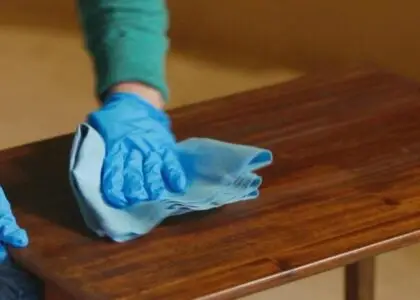
2. Clean the Furniture
Remove dirt, grease, and old wax using a mixture of warm water and mild soap. Use a soft cloth to clean all surfaces. For tougher stains, consider using a specialized furniture cleaner.
3. Strip Old Finish (if necessary)
If the finish is significantly damaged or peeling, you may need to strip it away. Use a chemical stripper following the manufacturer’s instructions, or opt for sanding if the finish is less problematic.
4. Sand the Surface
Using sandpaper, gently sand the surface of the furniture. Start with a coarser grit to remove the old finish and work your way to a finer grit for a smooth surface. Pay attention to edges and detailed areas.
5. Repair Damages
Fill any cracks or holes with wood filler using a putty knife. Allow it to dry completely and then sand it smooth. If there are loose joints, re-glue them and clamp until dry.
6. Stain or Paint the Furniture
Choose a wood stain or paint that complements your décor. Apply with a brush or cloth, following the wood grain. For a richer color, you may need multiple coats; allow each coat to dry fully before applying the next.
7. Seal the Finish
Once you achieve the desired color, seal the wood with a clear protective finish like polyurethane or varnish. This step is crucial for durability and to protect against scratches and moisture. Apply multiple thin coats, sanding lightly between each coat.
8. Final Touches
After the final coat has dried, inspect your work. Touch up any areas that need attention. Clean the hardware or replace it if necessary to enhance the overall look of the piece.
Tips for Successful Furniture Restoration
- Be Patient: Restoration takes time. Rushing can lead to mistakes.
- Test First: Always test stains and finishes on a small, inconspicuous area before applying them to the entire piece.
- Preserve Original Features: Keep as much of the original finish and hardware as possible for authenticity.
- Keep Safety in Mind: Always work in a well-ventilated area and wear appropriate safety gear.
Conclusion
With a bit of effort and creativity, you can successfully bring old furniture back to life, transforming it into a stunning centerpiece in your home. Whether it’s a cherished heirloom or a vintage find, restoring furniture allows you to connect with its history while making it a functional part of your living space. Embrace the journey of restoration, and enjoy the satisfaction that comes with a job well done!